Trending

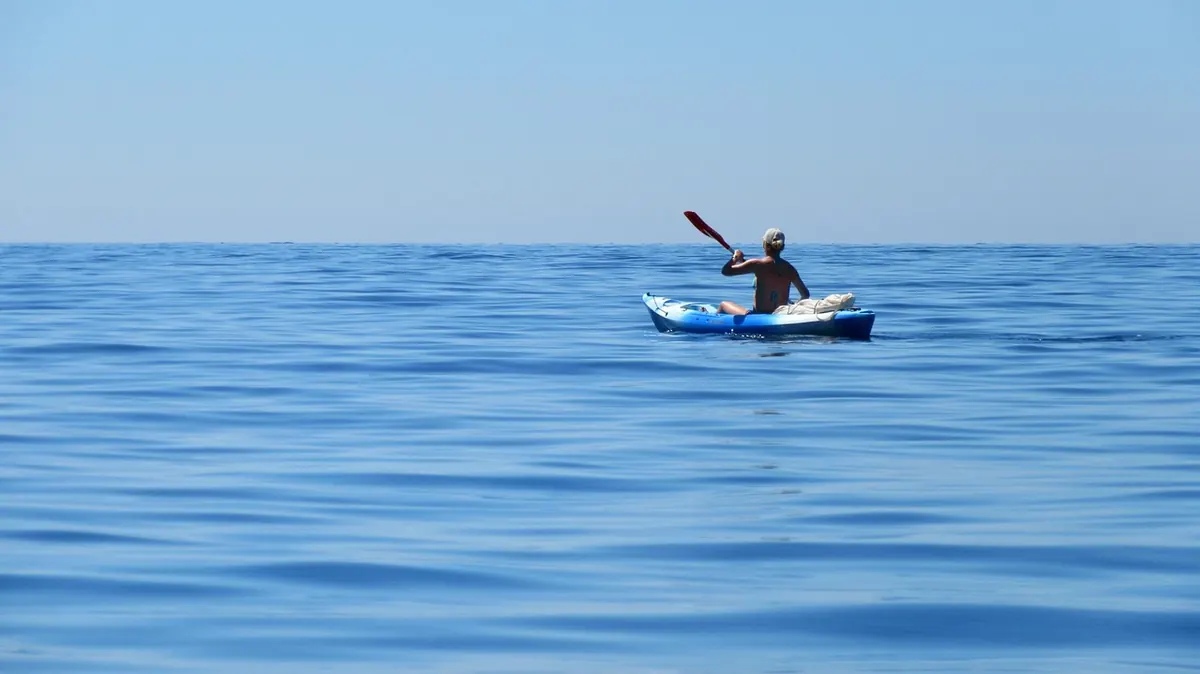
Sea kayaking takes you to parts of Britain that roads never reach and larger boats cannot get near: a shingle beach below a ruined chapel, puffins on a cliff ledge, a seal that surfaces a few metres off your bow and studies you for a while before deciding you are boring. It is also the most forgiving way to see an island from the water. You set your own pace, carry your own lunch and stop where you like.
The sea around the UK, though, is not a lake. It moves, it is cold, and it can change its mind within an hour. What follows is what a first-timer genuinely needs: the kit, how to read tides, which weather you will enjoy rather than survive, and why your first few trips are better booked with an instructor than improvised with a borrowed boat.
A sea kayak is long, narrow and low — usually somewhere between four and five and a half metres — with sealed compartments at each end and deck lines to grab if you end up in the water. It tracks beautifully in a straight line and turns about as quickly as a shopping trolley. That trade-off is deliberate, and it is why sea kayaks cope with chop that would soak you in a river boat.
Three things matter more than technique at the start. Wind is the biggest: a force 4 across your beam will tire you faster than a large swell ever will. Cold water is the second: you are sitting in the sea, not on it, so dress for the water temperature rather than the air temperature. Moving water is the third, and it is the reason the next two sections exist.
You can spend a fortune on this hobby. Do not, at least not yet. Most beginners hire the boat and the bulky safety kit from a centre and buy only the layers that need to fit their own body.
If you get hooked, buy the buoyancy aid and paddle first, the drysuit next, and the boat last. Clubs and centres often sell off ex-hire kit at the end of a season, which is a sensible way to fill gaps without paying new prices.
Around islands, tide does more than rise and fall. It streams. Water pushed through a narrow sound between two islands, or squeezed around a headland, speeds up considerably — fast enough in places to outpace a tired paddler. Wind blowing against that flow stacks the water into steep, breaking chop, which is unpleasant in a kayak and genuinely difficult in a small one.
Two terms are worth learning early. Spring tides, roughly twice a month around new and full moon, bring the biggest ranges and the strongest streams. Neap tides in between are gentler and are a far better choice for your first attempts. Slack water at a headland or sound might last only twenty minutes; miss it and you fight the flow for an hour.
Useful habits:
Sunny is not the same as suitable. Read the inshore waters forecast — it covers coastal sea areas in plain language — and look at wind speed, wind direction, gusts, sea state and visibility, not just the little sun icon on a phone app.
Then add a bail-out. Choose a stretch with several landing options so you can stop early without committing to a long exposed section. Half a day on the water that ends on a high note beats a full day that ends in a struggle.
A half-day taster teaches you more about your own limits than a month of reading about kayaking.
An instructor brings a ratio, a plan B, rescue practice and local knowledge of what the tide does at the point you were planning to round. Before you book, ask:
A taster session in sheltered water first, then a two-day introduction course that includes rescues and a short journey, is a good progression. If you have a medical condition that cold water or exertion could affect, speak to your GP before you book — that is a conversation for a professional, not a website.
Anglesey, Pembrokeshire, the Isles of Scilly, Cornwall, the Isle of Wight, the Scottish west coast and the Inner Hebrides all have established paddling centres, sheltered options for beginners and coastlines worth the drive. Pick a base with a calm stretch for your level, a local instructor and a decent forecast window, rather than the most dramatic coastline you can find.
Be honest about the difference between a sheltered bay and an exposed crossing. A few hundred metres of open water in a fresh breeze feels very different from the same distance along a shore, and that gap is where beginners get caught out. Build up to crossings; do not start with one.
Photo: Rabasse / Pixabay